How to improve the acoustics of your music recording studio with acoustic ceilings
If you are in the process of designing or building your own music recording studio, you’ll no doubt be keen to soundproof the space to keep background noises to an absolute minimum when you’re recording instruments and singers. Furthermore, a soundproofed space will allow you to play and practice your music as much as possible without disturbing neighbours.
However, soundproofing and the term ‘sound absorption’ are all too often confused when it comes to creating the right environment for a recording studio.
What is the difference between soundproofing and sound absorption?
Soundproofing stops the transfer of sound flowing through one space into another through a surface such as a wall. To soundproof a wall, you will require materials that prevent sound waves from passing through by absorbing the sound wave or energy.
Sound absorption relates to a room’s acoustics rather than the transfer of sound waves or energy beyond the room. Sound absorbing alters the way in which sound waves vibrate or bounce off surfaces, which ordinarily create an annoying echo and frustrating reverberation that minimises the quality of audio output.
If you’re not particularly worried about blocking out external noise and you’re more focused on ensuring your studio sounds better when recording music, acoustic absorption treatments are the most effective way to go. Ideally, you will consider implementing soundproofing and sound absorption, but if absorbing excessive ambience and delivering the best sound for your recording is the number-one priority, let’s take a look at the best methods of acoustic absorption treatment for your studio.
The key acoustic areas of a recording studio
Before you begin your acoustic absorption treatments, it’s important to understand the key areas in a room where absorption is located:
- The walls – which catch sound waves from only one dimension
- Dihedral corners – where two parallel walls meet, catching sound waves from two dimensions
- Trihedral corners – where all three parallel walls meet, catching sound waves from all three dimensions
Always ensure that you treat the trihedral corners first, followed by the dihedral corners and then the walls. That’s because these are the areas that can have the greatest impact on mitigating reverberations and vibrations.
3 useful acoustic absorption treatments
- Perforated acoustic plasterboard
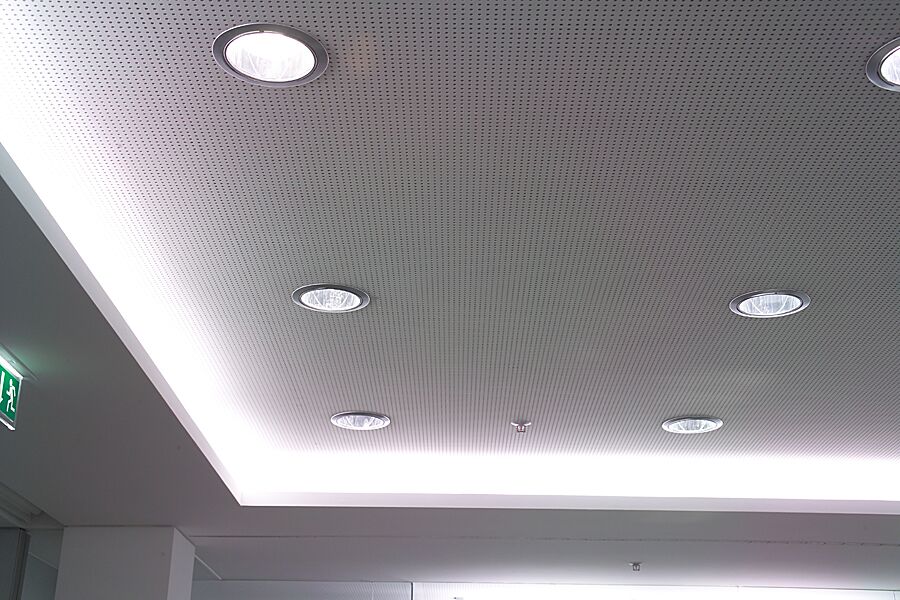
Perforated plasterboard ceilings can significantly enhance the quality of your studio space. This acoustic ceiling can absorb sound waves and energy and minimise reverberation – important in small studio spaces. Typical flat ceiling surfaces cause sound waves to bounce, resulting in unwanted discomfort and feedback on audio recordings. Available in circular, square and rectangular patterns, this acoustic ceiling can also be tailored to match the design requirements of your studio. - Bass traps
In tighter home recording studios, where bass frequencies prove a significant issue, bass traps are very effective. Porous bass traps absorb bass frequencies at a low level as well as mid-to-high frequencies. - Acoustic panels
Acoustic panels should be paired with bass traps as they cannot absorb any of the lowest bass frequencies. They take care of mid-to-high frequencies and can provide excellent wall coverage when combined with bass traps and acoustic ceilings.
For professional advice on the right acoustic ceiling for your recording studio or performance space, contact V-Cut’s friendly and experienced acoustic plasterboard and plaster specialists. With fast and economic installation due to our precise edge-to-edge technique, let us transform your studio’s sound absorption coefficient without harming its aesthetics.
Contact us today on 020 3092 1377 or drop us a line using our online enquiry form.

